- How to Remove 3D Print From Bed - May 31, 2022
- Autocad vs Inventor: Which Software is The Best? - April 5, 2022
- Autocad vs Revit [2022]: Which Is The Right Choice? - March 31, 2022
3D printing is not always a stand-alone process – sometimes it’s only the first step in a manufactured part’s journey. When paired with mass fabrication processes like injection molding, the advantages and disadvantages of both processes come into sharp relief against each other.
Though they can both participate in the same ultimate goal of creating parts for a whole, 3D printing and injection molding each have their distinct strengths and weaknesses that describe what they should be used for and what they should leave to the other.
Table of Contents
Main Differences Between 3D Printing vs Injection Molding
The main differences between 3D printing vs Injection Molding are:
- 3D printing is more expensive, whereas injection molding is a cheaper variant for bigger produce.
- 3D printing is smaller, whereas injection molding machines are quieter and faster.
- 3D printing allows you to make changes at any stage of the production process, whereas with injection molding you can’t make changes during the producing process.
Injection Molding
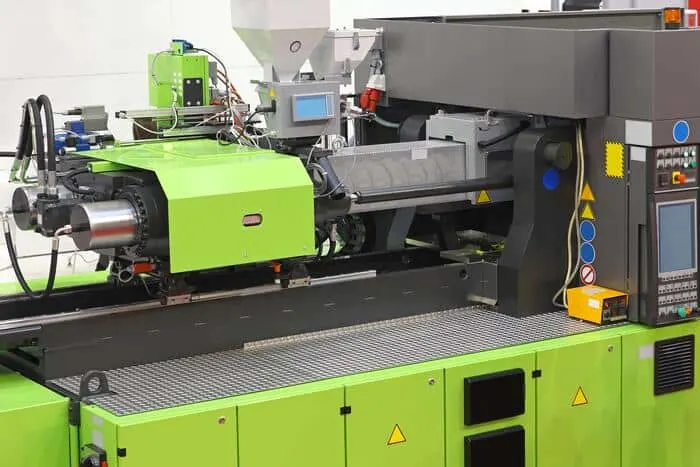
Overview
Injection molding is a way for a large number of parts to be made at one time. Basically, a tray with printed molds of the parts carved in is created, and liquid material such as polycarbonate, metal, nylon, or anything that works for the object’s finish is poured into the molds and cooled to create the part dozens or hundreds of times over. It’s typically used in mass manufacturing where a part has to be repeated with strict fidelity for a large number of finished items.
If you’ve ever used a hand tool, you’ve seen an example of something that was built using injection molding. The handle of your screwdriver is exactly like the handle of every other screwdriver of that same brand and model, with the same bumps and dips for grip in the same places and the same flare at the collar to keep your fingers safe while you’re working.
The company used injection molding to make sure all of those design quirks translated over; however many screwdrivers were sold to stores.
Pros
Repeatability:
The injection molding process is hands down the most efficient process to produce large numbers of the same thing. The plastic parts you create are going to be virtually identical no matter how many you produce or how many times you repeat the injection molding process.
That’s a great advantage for anyone who needs branding consistency or even just reassurance that everything will fit together as planned over a long and continuous manufacturing process.
Finish:
The finish of products that have been injection molded is going to be smoother than those that have been 3D printing since injection molding does not build up the material in layers but instead creates one smooth outer layer all at once through its pouring method.
If you have parts that would suffer from the small ridges of 3D printer layers grinding together while working as a whole, injection molding solves that problem.
Of course, the higher quality your 3D printer and filament is the less of a chance of the layers being an issue, so that may not be of concern depending on your equipment.
Mass production:
Injection molding was invented for producing lots of clones of the same object, which is invaluable when you’re manufacturing on a large scale.
And if you have the up-front costs, the price to make each object goes down exponentially once you start producing. If you’re looking for this kind of efficiency, injection molding will make your life easier.
Bigger parts than 3D printing:
Although injection molding has its limits for the size of each individual piece that can be created, this process can produce a much bigger piece than 3D printing technology.
Because of the industrial scale of its tools, injection molding works on a bigger scale, which is a big advantage even if you still have to print separate parts to put together later.
Bigger pieces mean fewer connections, fewer seams, and fewer weak points, which is a major plus for objects that will see heavy mechanical or manual use.
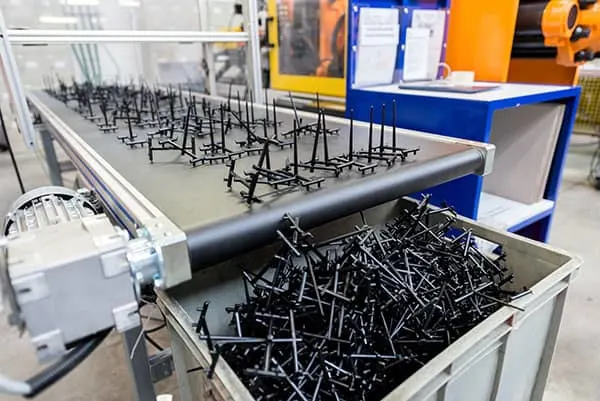
Cons
Scrap rates:
Although injection molding produces much less scrap than other mass manufacturing processes, it still produces more scrap than 3D printing.
This is due to its use of a mold, which is a material negation process; whenever a shape is carved out of a larger piece of material, no matter how economically, there is going to be at least some scrap material left over because ultimately you are taking material away from the starting area to make your final shape.
If you’re using certain types of thermoplastics for your material, you’re able to gather the scrap pieces and melt them down to recycle into future printed molds.
But you’ll always have something left over from the mold because of the need to build in guide areas for the injection equipment to follow when going between parts that are meant to be separated when they are completed.
These guide areas will be broken off and discarded in the final product, so at least some scrap is expected after each batch, but these pieces of reused material may result in lower-quality prints, especially if they’re repeatedly recycled.
Up front costs:
Buying injection molding tools will set you back a lot of money right at the start of your project. Their individual costs vary depending on what you need them to do, but they are all industrial machines meant for large batch working, so the cash you need to set them up reflects that.
Plus, your costs don’t stop at the machines themselves; you also have to make sure you have enough material for the molds and for injecting into the molds. Those have to be right the first time, or else you’ll lose what you’ve invested and have to start over.
Up front time:
The expense of injection molding machines is vast but a one-time thing. However, you will always be in danger of wasting materials (and money) if you don’t invest a lot of time into your design before you even think about molding it.
Before you can start injecting, you have to design a prototype (sometimes via 3D printing), which means not only drawing a concept in a computer-aided drafting program but also rendering that design in a 3D model so you can use that model to create a mold that can replicate the prototype in volume.
Both of these steps sound simple on paper, but in practice, they require extensive testing, breaking, and refining until you come up with a mold that will work under injection molding situations and get you exactly what you need.
This level of perfection that you have to reach before you can try out your mold requires time and money that can’t be determined ahead of time – be prepared for unexpected snags to hold you up in areas you thought you had on lock. And then be prepared to start at the beginning again.
Difficulty making changes:
The reason the prototype and testing steps are so extensive in injection molding is that once you’ve started using your molds and tools for injections, it’s difficult to impossible to make design changes.
Injection molding uses heavy metals for its tooling and molds because they are in direct contact with the heated material that is poured into them. So they need to be materials that won’t warp under high temperatures – but this also means they are almost impossible to add or subtract anything from.
If you want to change anything about your molds after you’ve built them, it’s easier to shave down metal than to add pieces to it. But when you’re dealing with differences of millimeters, nothing is easy to get perfect when you are freehanding.
A mistake that would be insignificant on a larger scale design is going to compromise the integrity of an injection mold, putting all of the sections of the mold at risk of collapsing into each other during the injection process. No pressure or anything!
Uniform wall thickness:
Injection molding needs a very specific range of wall thickness to keep out inconsistencies in the cooling process and to prevent gaps while filling the mold tool.
You’ll need to make sure your design has a wall thickness of between 2 and 4 mm, which doesn’t leave a lot of room for variation if you had something else in mind.
3D Printing
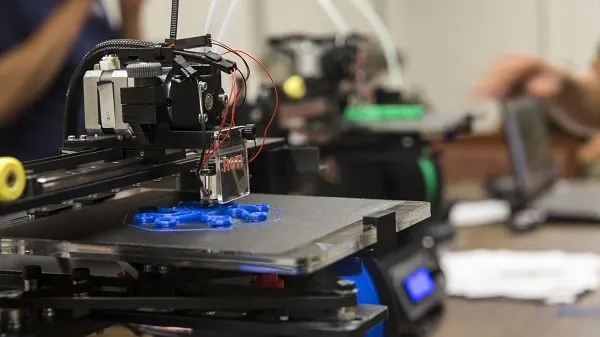
Overview
Three-dimensional printing is the process of building an object through printing thin layers of the filament on top of one another to form a sculpted object.
The layers are printed by a machine with a nozzle that heats up the filament as it moves along the X, Y, and Z axes according to the design it’s programmed to follow.
3D printing technology has gained exponential popularity in the last decade, growing from a manufacturing and prototype niche to a way for many educators, artists, and just those who are curious to experiment with how it can fit into their lives.
It comes from the same family of processes like injection molding and can be a valuable step in the beginnings of that as well as its own stand-alone way to build something.
Pros
A range of accessibility:
Although you do need specialized equipment for 3D printing, it’s very easy to fit into whatever situation you plan on using it for. You can get a 3D printer that fits next to your home computer for $300 or less – about half that if you’re willing to buy a kit and put the printer together yourself.
You can get all types of filaments, standard and unique, on Amazon, and there are several free and open access design programs you can use straight off the internet, not to mention pre-designed patterns and thousands of message boards dedicated to tips, tricks, and questions about 3D printing.
If you’re an educator or an artist, you can make a good argument for bringing 3D printing into your profession as a way to teach or create. 3D printing is easy to bring on as an interactive addition to any sort of maker hobby in your life.
And it’s just as easy to go pro once you’re comfortable – you’ll find professional range 3D printers right alongside the smaller ones, and as long as you’ve done your research on brands and models, you can make that jump whenever you feel ready.
Individual adjustments:
3D printing is great for experimenting with your designs. As long as you have the patience (and filament) to fiddle with designs, printing temperatures, and finishing techniques, you can perfect your object until it’s exactly what you want during the actual 3D printing process.
A lot of 3D printers even let you stop in the middle of printing, make an adjustment, and start printing again in the same spot you left off. It’s a versatile way to learn your way around design.
Price:
Even at its most expensive, the upfront costs for 3D printing are going to come in at way lower prices than those for industrial-scale manufacturing.
Plus, your replacement and material costs are going to be relatively cheap as well; filaments go for as little as $15 a spool for PLA, the most commonly used type.
A range of materials:
You can 3D print with filaments that incorporate everything from thermoplastics to pieces of glass, in any color you can think of (and several you haven’t heard of yet).
Your object can glow in the dark, smell like wood, or hold water without spilling a drop. The possibilities are endless, and all you have to do is choose your filament.
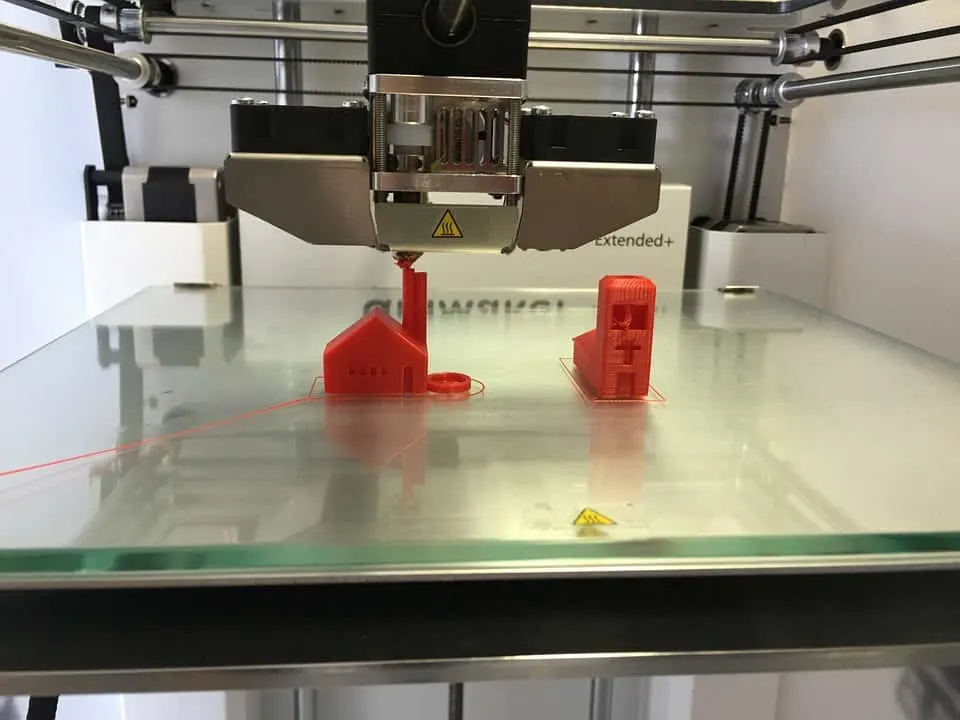
Cons
Size:
3D printers are limited to what they can print size-wise to the printer’s physical dimensions, which are typically much smaller than industrial manufacturing machines.
You can, in theory, use a 3D Printer parts that go together for a bigger whole, but that would add many hours that you may or may not have.
Scalability:
Related to the size limitations of 3D printers, their ability to create more than one object at a time is severely limited. 3D printers use additive technology, which means they build their objects layer by layer instead of all the layers being poured at once like in a mold. That takes hours to create one completed object, and if you need to mass produce in a hurry, you’re out of luck.
FAQs About 3D Printing vs Injection Molding
This depends on whether you are going to use it for personal use or professional use. For personal use, the costs can be around $1000 if you decide on cheaper printer and materials, whereas for professional use, the costs can go up to $10,000, this of course meaning the printer will be around $5000.
Yes, of course. You can list your printer for use and people can use it for creating their own objects and you get a share of the total cost, and you can also use it for a personal business and create items that you’re going to sell.
Injection molding can cost around thousand dollars, however, large production of items can cause up to $100,000 even, depending on how large the produce is, of course.
Since the plastic injection molding molds are used more frequently, they need to be made of very durable materials in order to sustain the thousands of pounds of pressure every cycle. The most common materials used for molds is steel, thus the high costs of the metal injection molding molds.
3D Printing vs Injection Molding – Conclusion
Injection molding and 3D printing have advantages for different steps in your building process. If you’re looking to produce a lot of the same thing in a relatively short amount of time and you already have an airtight design, injection molding is the way to go so you can take advantage of its mass production traits – if you also have the startup cash and prototype testing time it takes.
3D printing will be more your speed if you need low barriers to beginning your build and a way to experiment with your designs without ruining your whole batch – if you’re okay with individualized printings and the time that takes. Either way, you’ll find a great way to bring your creations to life.


Lewis
Tuesday 25th of June 2019
Amzing post Melanie! Thanks for explaining the difference between 3D printing and injection molding so well.